






Your email address is required to begin the subscription process. We will use it for customer service and other communications from Milk Street. You can unsubscribe from receiving our emails at any time.
Ciabatta
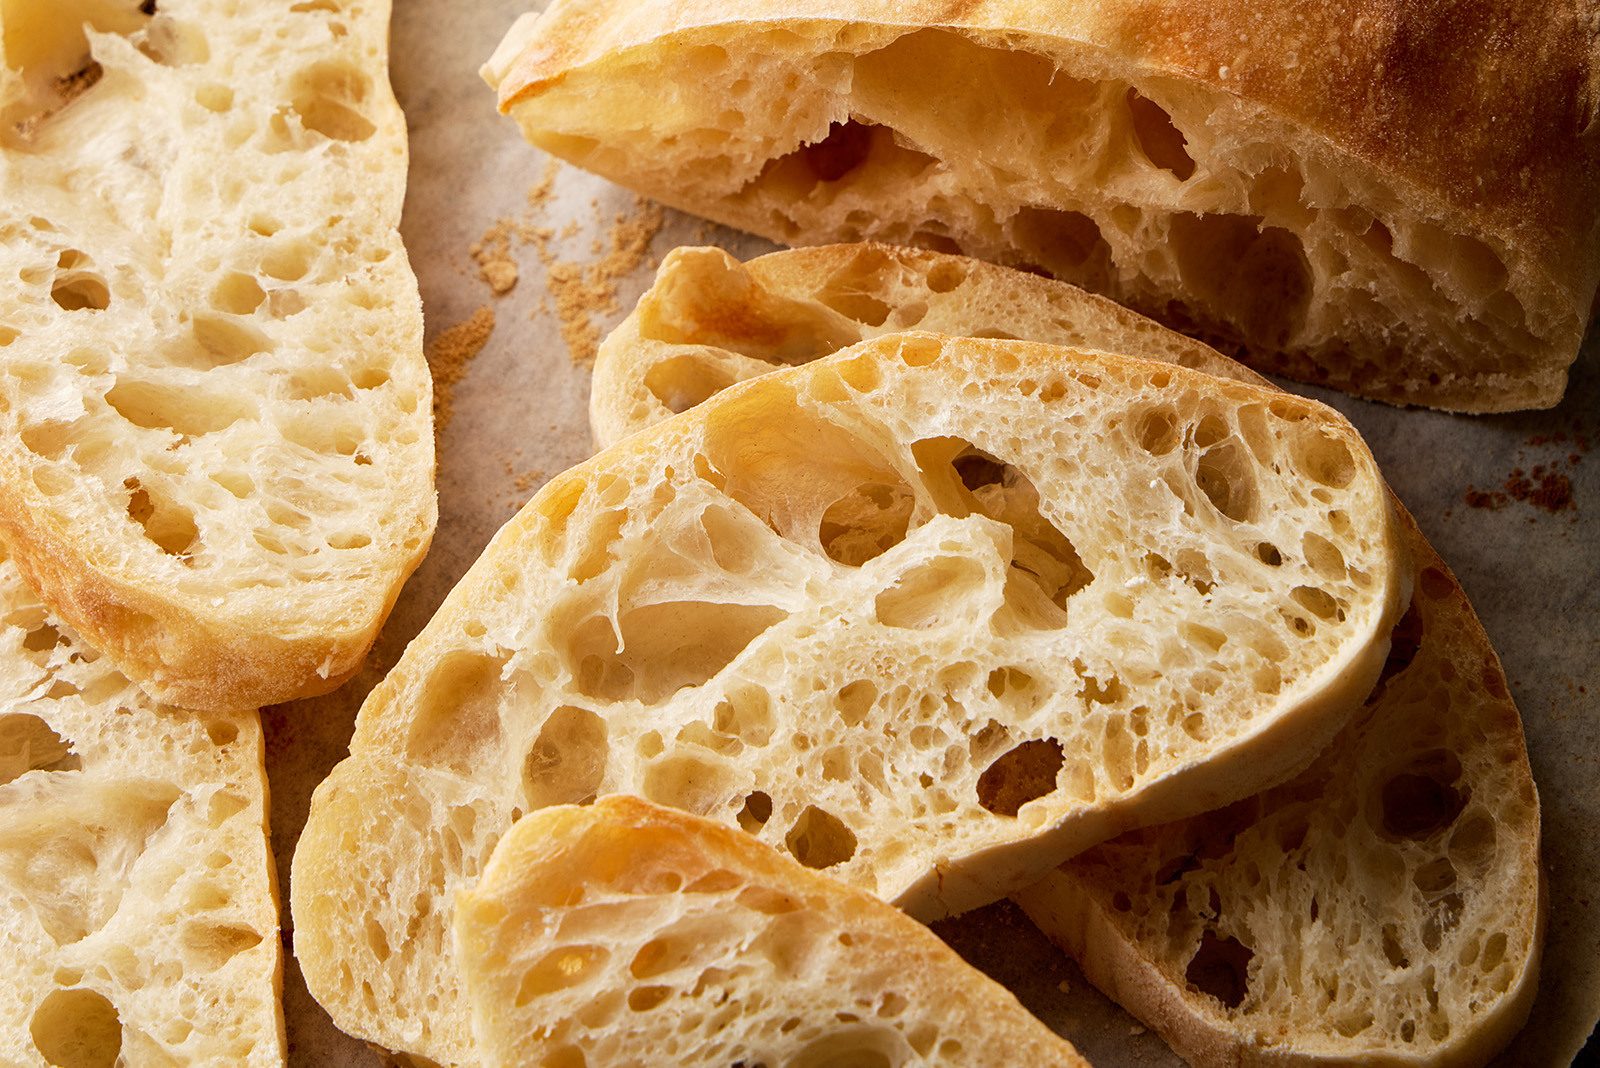
Ciabatta means “slipper” in Italian, a reference to its low, wide shape. The bread’s characteristic thin crust and open, airy crumb are products of high hydration, meaning that the dough contains a high ratio of water to flour. The resulting mixture is wet and requires a different approach to gluten development than stiffer, more conventional bread doughs. Time is a key ingredient: it allows the flour to slowly absorb water while yeast works in tandem, creating CO2 that begins inflating and strengthening gluten networks. Simultaneously, the dough’s flavor improves via fermentation. We perform a series of stretches and folds on the dough, which slowly and gently builds gluten in a way that an electric mixer cannot. With each stretch and fold, you’ll feel the dough develop strength and tension while becoming more cohesive. Another factor that’s essential for ciabatta’s crisp crust is steam. You’ll need a spray bottle filled with water to spritz the bread before it goes into the oven, as well as after five minutes of baking. This keeps its surface moist, discouraging crust formation and letting the loaf expand. It won’t begin forming a crust until later, ensuring the crust is thin and crackly, not thick or tough. You’ll also need a rectangular steel or stone on which to bake the ciabatta. They’re extremely efficient at conducting high heat evenly, ensuring that the loaf gets good oven spring, as well as a crisp crust. And a pizza peel is the easiest way to shuttle the loaves in and out of the oven.
2
11-inch loaves
Tip
Don’t hesitate to liberally flour your work surface and dough as you divide and shape the ciabatta. Also, don’t worry if the loaves aren’t perfect rectangles. An irregular shape is part of the breads’ rustic charm. The dough inevitably will lose some of its airiness during shaping, but take care to deflate it as little as possible. Lastly, avoid dripping or misting water onto the oven door when spritzing the loaves five minutes into baking. Though oven windows are made of tempered glass, it’s still a good idea to make sure water doesn’t make contact with the glass when it’s scorchingly hot.
18 hours
(1 hour active), plus cooling
Ingredients
-
480
grams (3½ cups) bread flour, plus more for dusting
-
1½
teaspoons instant yeast
Directions
-
01In a large bowl, combine the flour, yeast, salt and 1⅔ cups water. Mix by hand until a wet, tacky dough forms; it will be dry and shaggy to start but will come together after a few minutes. Cover with plastic wrap and let rise at room temperature for 2 hours (the mixture may not double during this time), then refrigerate for 8 hours or up to 12 hours.
Reviews
November 6, 2025
Really good recipe. Very tasty, the dough is very easy to handle and shape.
Made this recipe for the first time today. Came out really nice. The dough is very easy to handle and shape, and best of all - tasty loaves! Very good for muffulettas or sandwiches of that nature.
January 8, 2025
Ciabatta - Whole Wheat ?
Can we make one? As the baking (asa cook it seems a lill more scientist based than my own creative chef-ing) is a lill more esoteric, I’m not sure simple flour replacement/exchange is possible. Still want the crust’n chew, the super crumb of ciabatta but w/o the process wheat is put thru for this flour choice. . .
December 31, 2024
question
not a rating yet but I have a question. what if the refrigeration time in the 1st step is more than 12 hours? I have just now started the rise and it is 3PM.
Become A Subscriber To Rate and Review All Our Recipes.
Please Log in or join today for $1.
